 |
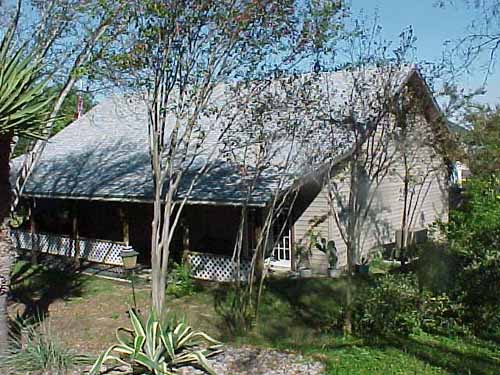
This
would be the culmination of two years of work. The building was
originally designed for my model railroad. |
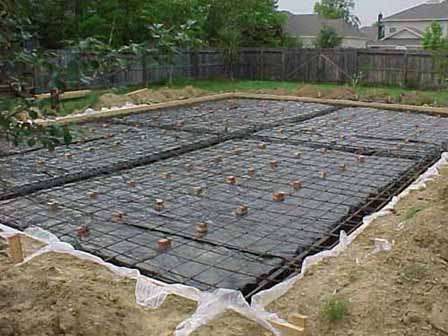 |
Three layers of
plastic were installed under the reinforcement rods in the concrete
slab. |
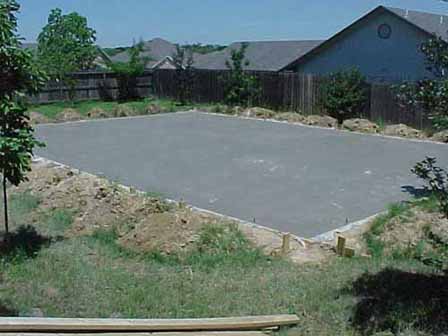 |
The museum slab
was finished and ready to walk on just 10 hours after the concrete
pouring began. |
 |
The initial three
walls were constructed lying flat on the concrete slab. |
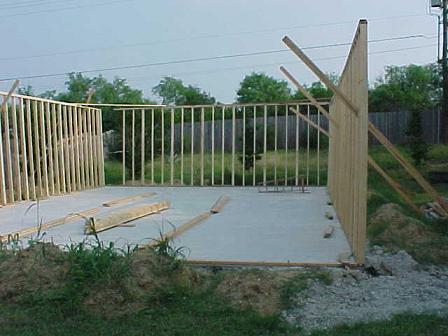 |
After the first
three walls were finished, they were raised into position. |
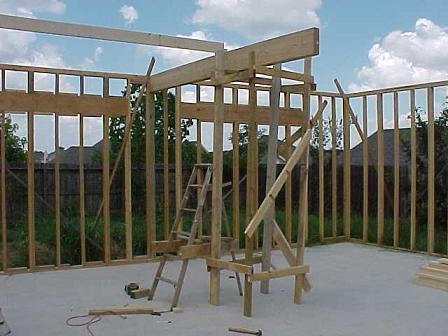 |
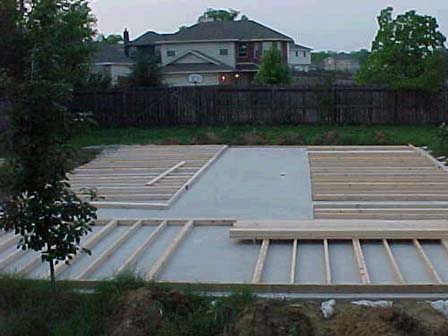
The main center
support beam was constructed by building support towers at each
end of the building. |
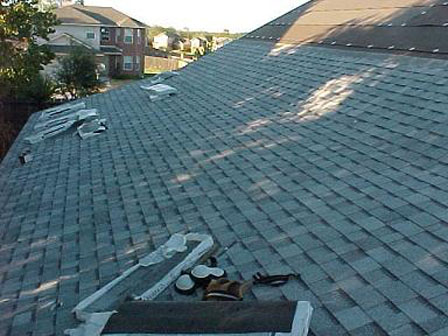 |
The entire roof
was installed during the 100+ degree days of summer. |
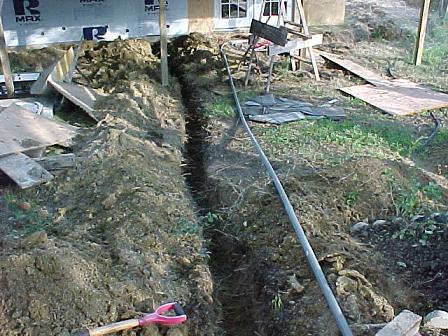 |
A deep trench had
to be dug from the house to the museum to carry the new electrical
line. |
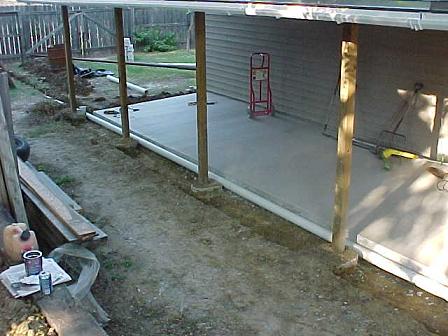 |
A drainage system
was installed next to the porch. |
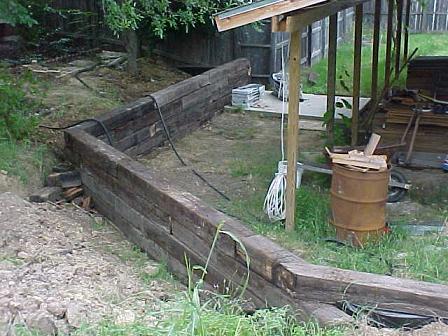 |
A railroad tie
wall was constructed along the west and south sides of the museum. |
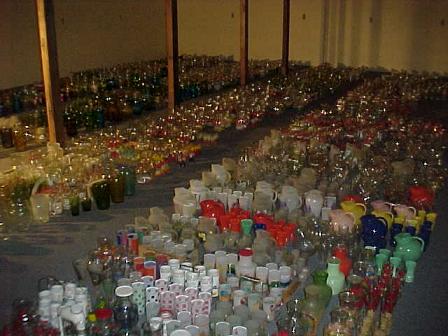 |
Before the glass
display cabinets were delivered, all the glass for the museum was
lined up on the newly carpeted floor. |
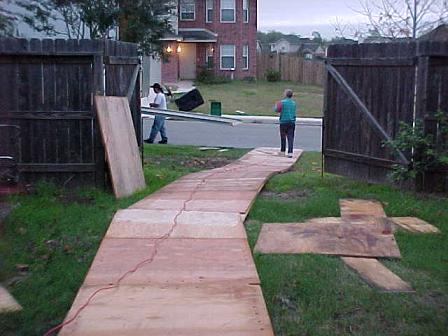 |
A double-thickness
plywood ramp had to be constructed from the museum to the street.
The ramp was used to bring in the incredibly heavy display cabinets.
|
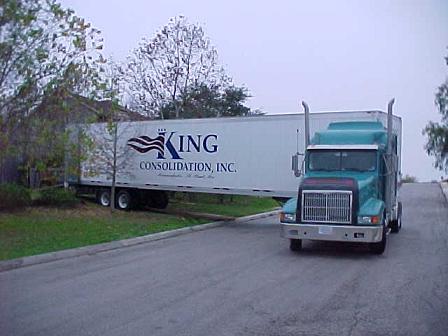 |
It took three people
nine hours to unload 40 display cabinets. |
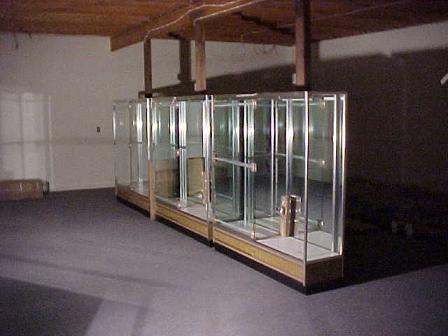 |
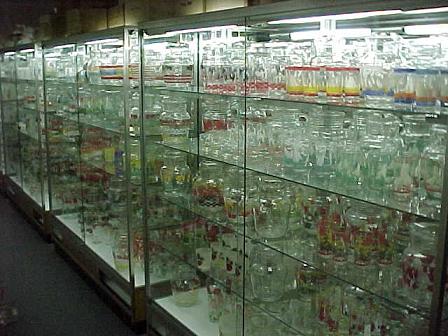
The display cabinets
were lined up in the middle of the museum first. All the glass on
the floor was piled into the cabinets as they were brought in. |
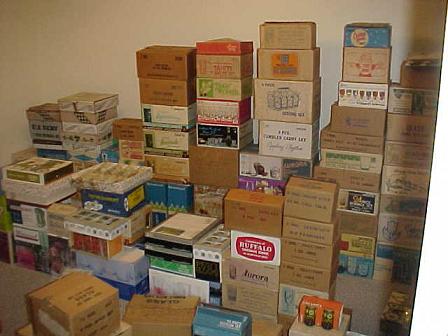 |
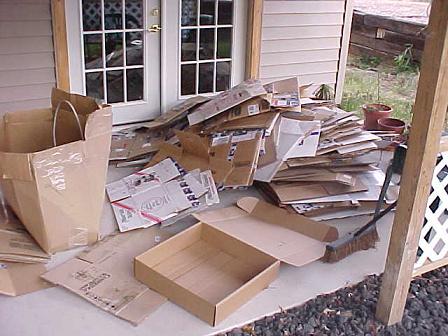
All these boxed
sets were moved from my home to the museum. |
 |
Just a few of the
boxes unpacked right after the display cabinets were received. |
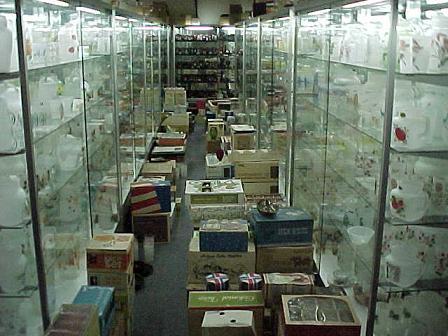 |
The suspended ceiling
was installed over the cabinets and boxed sets covering the aisles. |
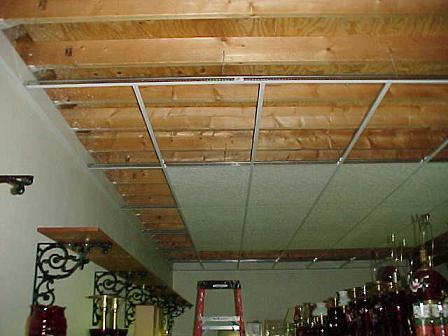 |
Because the display
cabinets were received early, the suspended ceiling was installed
with all the glass in the cabinets and boxed sets on the floor. |
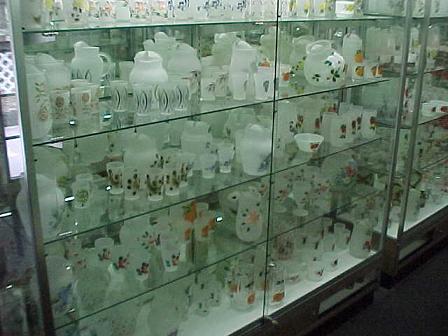 |
Some of the numerous
hand-painted pitchers and glasses on display in the museum. |
 |
Some of the 1,000
pitchers on display in the museum. |
 |
Eventually, red
oak shelves were installed on the walls over the display cabinets.
This is where the 250+ boxed sets are displayed. |